Design for Manufacturing Series: Additive Manufacturing
Welcome to the third installment in my “Design for Manufacturing Processes” series. This article will focus on the second process explained in my introductory article [read here]: additive manufacturing. Otherwise known as 3D printing, additive manufacturing is becoming more and more used throughout industry. Aerospace companies are researching how to print titanium and carbon fiber to make aircraft parts lighter and stronger. Cooking innovators have invented chocolate printers to create complex confections. Construction companies have developed a cement 3D printer that reduces construction costs and time to a fraction of the original processes. With this being such a prevalent and versatile technology, one would think that this technology has been under development for a hundred years. However, this is not entirely the case.

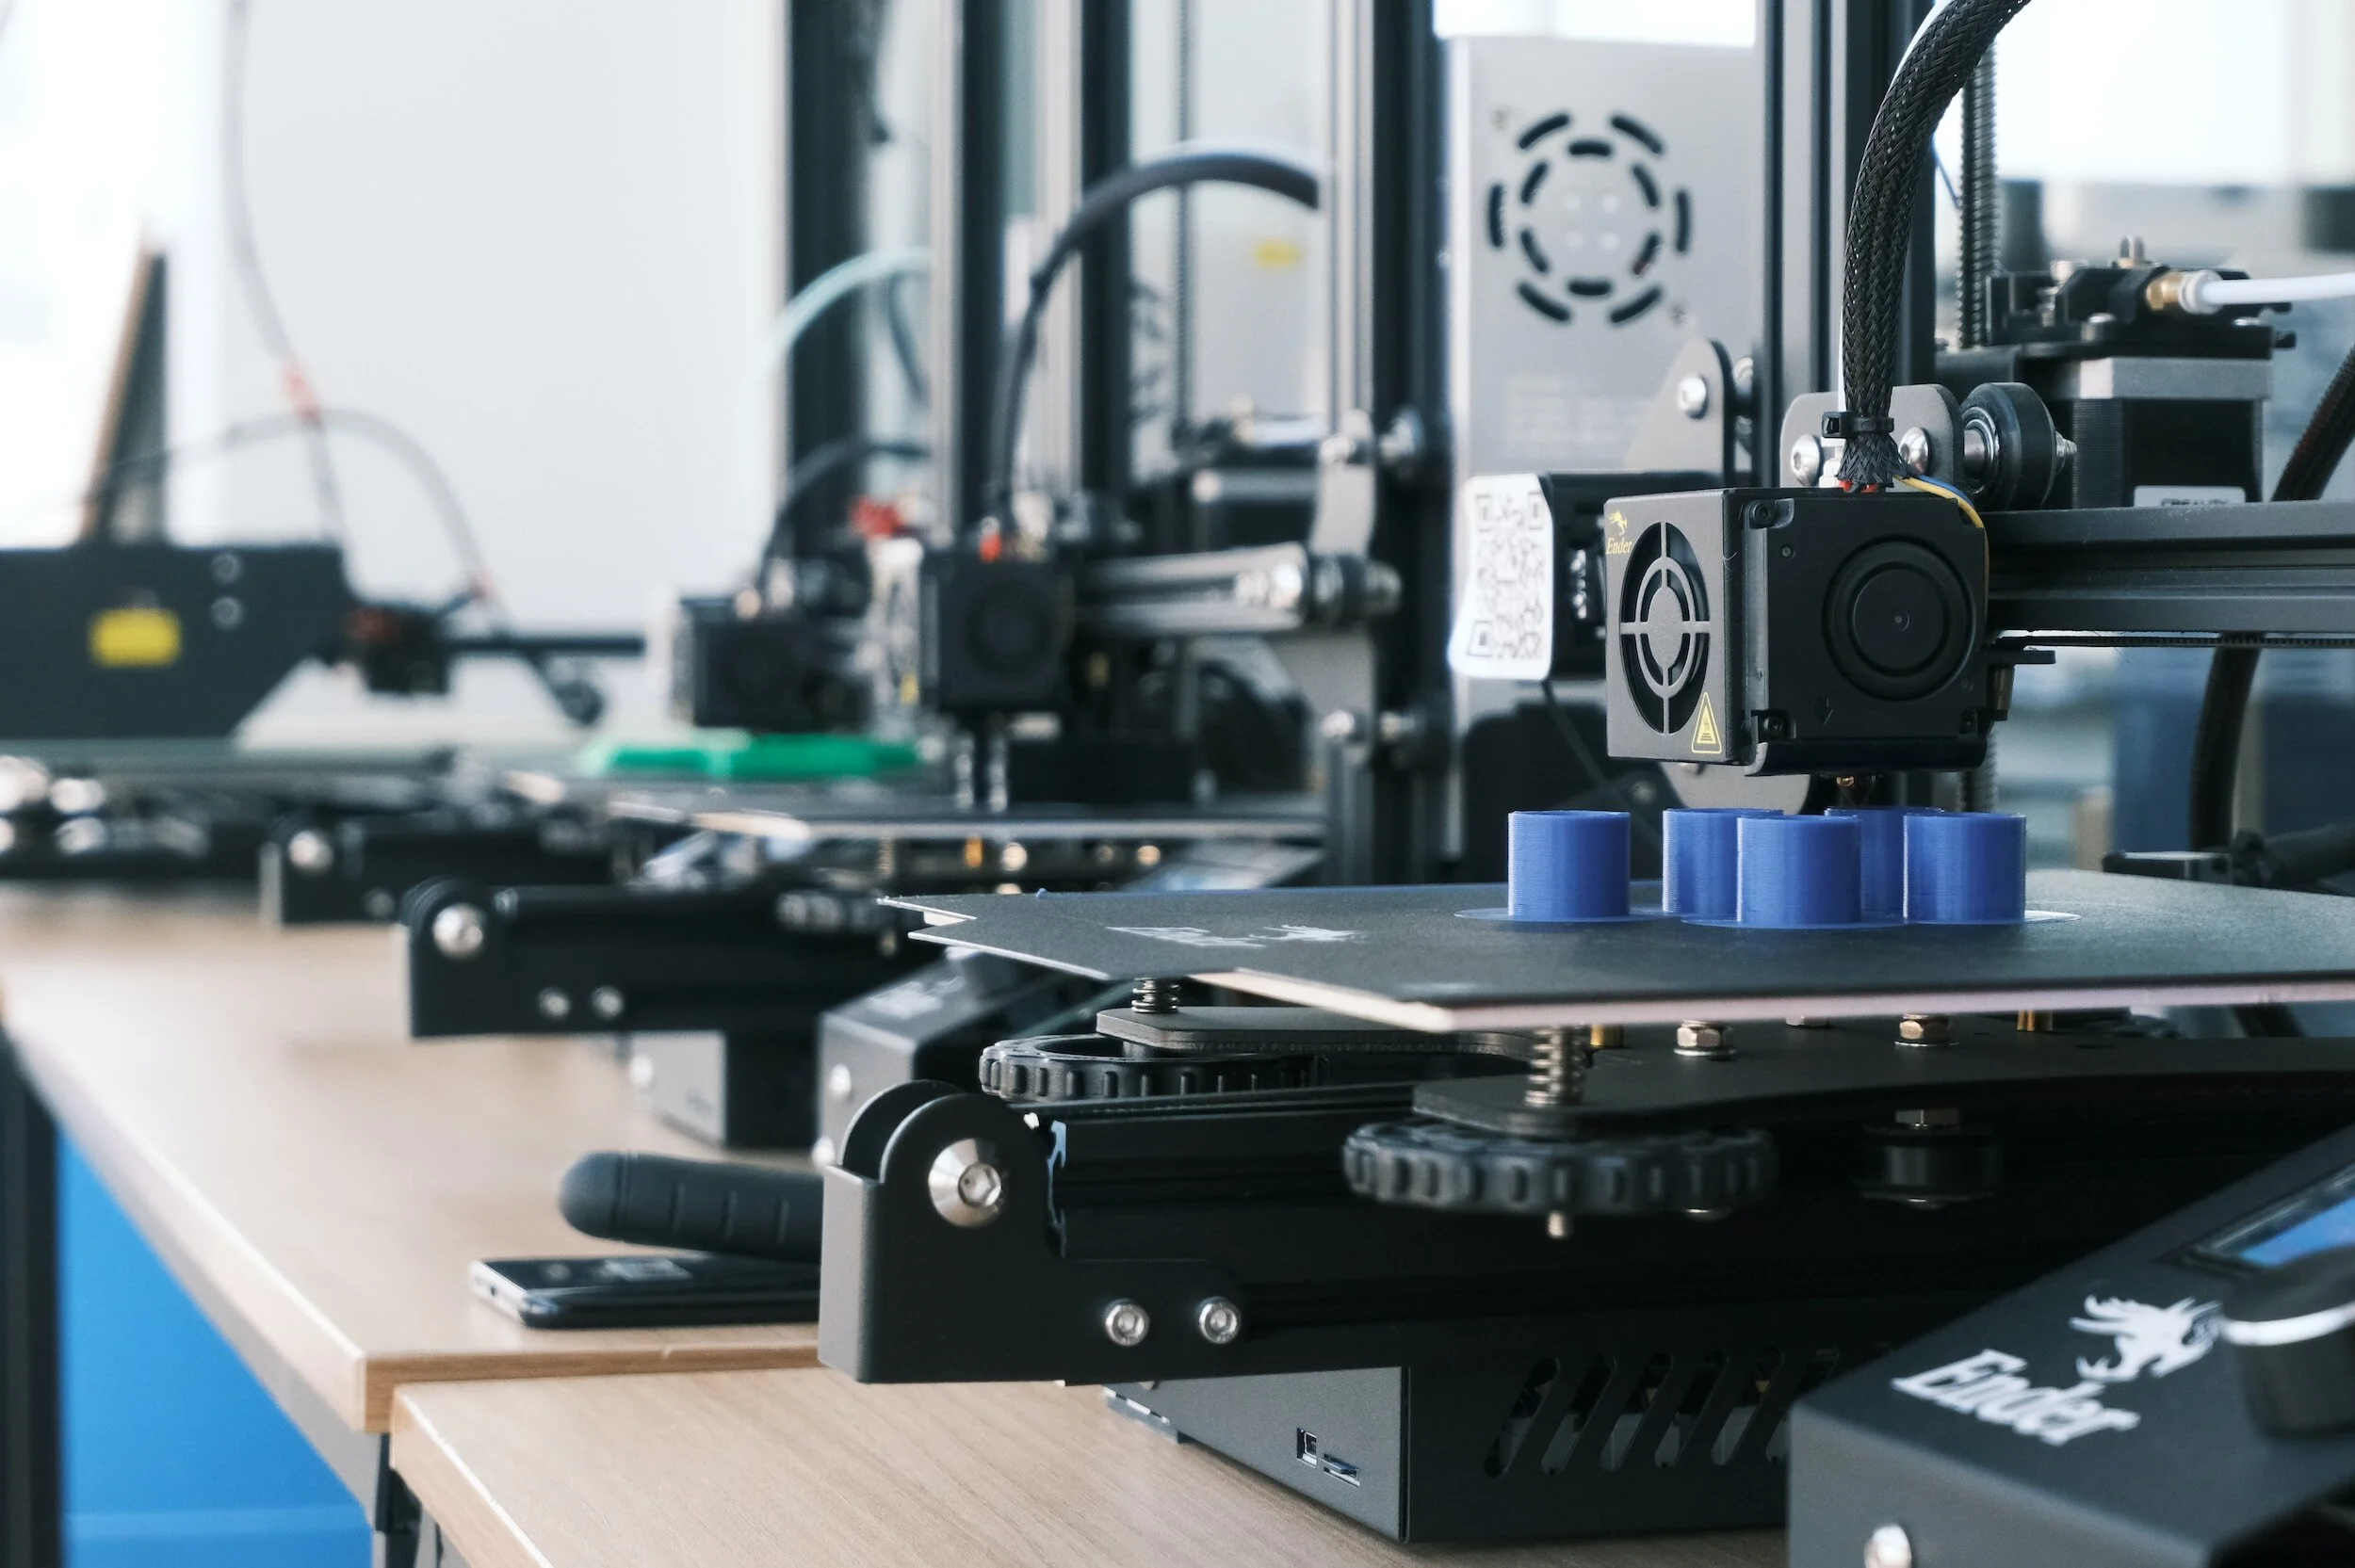
A side-by-side image of different 3D Printers
The History of 3D Printing
In the 1980’s, there were three teams separately developing a type of 3D printing. The general idea that each of these groups explored was slicing a model into layers and adhering them together one after another with a laser or ultraviolet light. The technology did not advance enough then to become widely used. Throughout the 1990’s, 3D printing was limited to high-cost, low-volume production, and was mostly used in the automotive, medical, and aerospace industries. Fortunately, the past 24 years (2000-2024) have turned 3D printing into a utopia of creativity and community. In 2009, the patent for FDM (Fused Deposition Modeling, or Filament Printing) became available in the public domain, thereby opening the door for anyone to take the technology and improve upon it. This led to the formation of such companies as Prusa and Elegoo, two open-source printing companies. In 2014, the 3D printing industry generated more than $1 billion in revenue. More recently, the COVID-19 pandemic led to a rise in private creators joining the industry, many of whom helped print PPE and medical supplies that were severely lacking during shortages in that time. Just last year, some sources state that somewhere around 2.2 million 3D printers were delivered [1]. The growth of this industry has created an unprecedented global pathway to innovation. With the streamlined process from digital model, to slicer software, and then to a physical printer, 3D printed parts are becoming more and more common.
Design Considerations
As in the previous article in this series [read here], my goal is to help designers know how to design more successfully in a variety of manufacturing environments. With additive manufacturing, I will focus on three parameters that can change your designs. One of the most integral parameters of additive manufacturing is support structures. Because a printer builds a part without a mold, any geometry that hangs more than 45 degrees over the vertical will not have enough strength underneath it to stay in place.
In FDM and SLA (stereolithography, or resin, printing), supports come in the form of extra filament/resin laid down from the bottom up until it meets the portion it is supporting. In cement printing, such as CEMEX Ventures in Mexico [link site], reinforcing beams are laid across openings so the next layer can be laid on top of it. One issue with supports is they can ruin the finish on the surface between the supports and the model. Supports also add a lot of time to post-processing (which will be another consideration later). Because of this, some designers like to remove support structures to maintain the fidelity of the print closer to the digital model. This can be done through either changing geometries or orienting the part in such a way that makes all the angles less than 45 degrees. While exploring whether or not you want to include supports in your final print, carefully consider what faces are visible, how much post-processing you want to do, and the existing angles on your part.
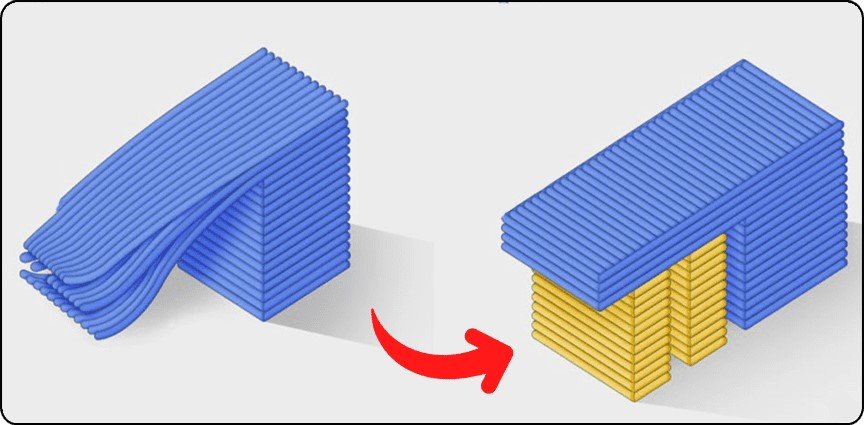
Image detailing necessity of support structures
Another important design consideration is infill percentage, an exclusively FDM printing issue. With FDM, a small bit of material is extruded out of a nozzle, which moves around the print bed, leaving a thin line of material in its wake. Generally, the path the nozzle follows is the outer walls of the model, and that which is determined by the infill percentage. The infill setting determines how much the nozzle deviates from the outer walls to lay material between the walls of the part. This parameter also determines the structural integrity of the part.
According to ALL3DP, a widely supported 3D printing online publication, there are three different types – standard, functional, and display [2]. For standard prints, general parts that will not undergo a lot of stress and typically use 15 to 50% infill as it “keeps print time low, conserves material, and provides okay strength.” For functional prints that will provide strength as a base part of their function, anywhere from 50 to 100% is needed to keep the part strong throughout its life. This setting will be heavier and stronger, but it will also consume more filament and manufacturing time. Display parts rarely undergo stress or even handling and simply need to be cosmetically pleasing. 0 to 15% infill is sufficient for this, but the closer one approaches an infill of 0%, the higher the possibility that your print will come out with surface and infill voids that can ruin your final part. More often than not, you will be printing standard parts, so keep your printer at 15 to 50% infill and your parts will come out both beautiful and functional.

Details of the different levels of infill
The final consideration that I will discuss in this article is finishing requirements. You will need to determine the final desired outcome of the product and identify requirements, such as how polished the surface needs to be or how clean the edges and lines should be. These will be achieved through post-processing, which can include removing supports, sanding, and painting. The amount of post-processing needed varies widely according to machine, parameters, material, and end-use. If you are printing to make a rough prototype, there is very little post-processing needed. However, with final, presentable products, post-processing can take days.

Surface finishing creates esthetically pleasing parts
One of the inherent imperfections with 3D printing is layer lines. Because of the nature of layer-by-layer printing, there are visual lines between each layer that can be unappealing to look at, depending on the purpose of the part. One common method for removing layer lines is to paint a layer of filler paste (usually made of something like Bondo) over the whole part, sanding it over and over with an ascending grit number, and repeating that process over and over until the lines cannot be seen. As I said earlier, post-processing intensity changes based on almost every parameter. Different materials flow together much better than others. Different printing processes have smaller layer lines, ranging from SLA with all but non-existent layer lines to cement printing which has layer lines that are inches thick. The size of the layer line can also be adjusted by decreasing the amount of material that flows through the nozzle at one time. You can make supports thicker or thinner based on your needs. You can also change the orientation – within the CAD/Slicer software – of the part on the print plate so that the layer lines work for your needs rather than against them. In all, remember that the amount of post-processing that you do depends on how exact you need your print to be and how finely tuned your settings are during your print.
Conclusion
With the versatility of 3D printing, there are endless possible products that you can design. I have personally made board game accessories, school projects, and fun little trinkets. Remember to consider how you want to use support structures, how strong you need your part to be, and how finished it needs to look. With these three design considerations, you can now go make even better 3D prints.
[1] Joshi, S. (2023, July 19). 3D printing statistics: 69 facts and trends to follow in 2023. Learn Hub. https://learn.g2.com/3d-printing-statistics
[2] O’Connell, J. (2024, March 6). 3D printing infill: The basics for perfect results. All3DP. https://all3dp.com/2/infill-3d-printing-what-it-means-and-how-to-use-it/
Further Reading
- Billington, A. (n.d.). Infill percentage for 3D printed parts. https://3dpros.com/guides/settings-infill
- CEMEX. (2023, June 1). With new 3D printing technology, Cemex and Cobod build a better future. Cemex Ventures. https://www.cemexventures.com/cemex-and-cobod-3d-printing-system/
- Forcier, M. N. (2021, June 14). 3 additive manufacturing design factors you need to consider. SolidProfessor. https://solidprofessor.com/blog/3-additive-manufacturing-design-factors/
- Judy. (2021, March 24). Support on 3D prints. The Spark. https://blogs.library.unt.edu/spark/2021/03/03/support-on-3d-prints/
To cite this article:
Cousins, Andrew. “Design for Manufacturing Series: Additive Manufacturing.” The BYU Design Review, 14 Aug. 2024, https://www.designreview.byu.edu/collections/important-design-considerations-for-additive-manufacturing.